zig环境搭建
- zig安装:下载zig (我们使用稳定的0.13版本)并解压,把zig所在目录添加到系统环境变量,cmd输入
zig version进行验证 - zls(zig语言服务)安装:下载zls 并解压,把zls所在目录添加到系统环境变量,cmd输入
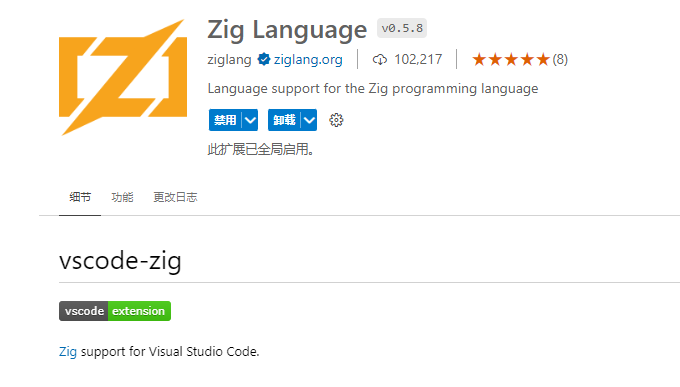
zls --version进行验证 - vscode安装zig语言插件

创建zigblog项目
桌面新建一个空文件夹zigblog,打开该文件夹右键打开cmd(没有的请自行cd到该目录),cmd执行命令zig init初始化项目,结果如下图

添加项目依赖
- 我们使用zig开源项目 httpz 写博客后端api,用vscode打开项目,我们把httpz依赖添加到项目依赖管理文件
build.zig.zon中,添加后如下,httpz的url和hash我是从 jetzig 项目抄过来的(jetzig项目是一个全栈开发项目,它基于httpz)。
.{
    .name = "zigblog",
    .version = "0.0.1",

    .dependencies = .{
        .httpz = .{
            .url = "https://github.com/karlseguin/http.zig/archive/fbca868592dc83ee3ee3cad414c62afa266f4866.tar.gz",
            .hash = "122089946af5ba1cdfae3f515f0fa1c96327f42a462515fbcecc719fe94fab38d9b8",
        }
    },

    .paths = .{
        "build.zig",
        "build.zig.zon",
        "src",
        // For example...
        //"LICENSE",
        //"README.md",
    },
}
- 之后我们在
build.zig文件中添加httpz模块,后如下
    const exe = b.addExecutable(.{
        .name = "zigblog",
        .root_source_file = b.path("src/main.zig"),
        .target = target,
        .optimize = optimize,
    });

    // 添加httpz模块
    const httpz_module = b.dependency("httpz", .{ .target = target, .optimize = optimize }).module("httpz");
    exe.root_module.addImport("httpz", httpz_module);

    b.installArtifact(exe);
- 之后我们删除项目src下
root.zig文件,删除build.zig文件中默认生成的测试代码,具体删除代码如下
    // 删除
    const lib_unit_tests = b.addTest(.{
        .root_source_file = b.path("src/root.zig"),
        .target = target,
        .optimize = optimize,
    });

    // 删除
    const run_lib_unit_tests = b.addRunArtifact(lib_unit_tests);


    // 删除
    test_step.dependOn(&run_lib_unit_tests.step);
- 之后我们修改src下
main.zig文件,如下
const std = @import("std");
const httpz = @import("httpz");

pub fn main() !void {
    var gpa = std.heap.GeneralPurposeAllocator(.{}){};
    const allocator = gpa.allocator();

    var server = try httpz.Server().init(allocator, .{ .port = 5882 });

    server.notFound(notFound);

    server.errorHandler(errorHandler);

    var router = server.router();

    router.get("/api/user/:id", &getUser);

    std.log.info("Listening on  http://127.0.0.1:5882/", .{});
    try server.listen();
}

fn getUser(req: *httpz.Request, res: *httpz.Response) !void {
    // status code 200 is implicit.

    // The json helper will automatically set the res.content_type = httpz.ContentType.JSON;
    // Here we're passing an inferred anonymous structure, but you can pass anytype
    // (so long as it can be serialized using std.json.stringify)

    try res.json(.{ .id = req.param("id").?, .name = "Teg" }, .{});
}

fn notFound(_: *httpz.Request, res: *httpz.Response) !void {
    res.status = 404;

    // you can set the body directly to a []u8, but note that the memory
    // must be valid beyond your handler. Use the res.arena if you need to allocate
    // memory for the body.
    res.body = "Not Found";
}

// note that the error handler return `void` and not `!void`
fn errorHandler(req: *httpz.Request, res: *httpz.Response, err: anyerror) void {
    res.status = 500;
    res.body = "Internal Server Error";
    std.log.warn("httpz: unhandled exception for request: {s}\nErr: {}", .{ req.url.raw, err });
}
- 之后我们在项目根目录下打开cmd执行命令
zig build run进行依赖下载(从github下载,可能需要科学.上网)、编译、运行,如图,我们打开浏览器访问http://127.0.0.1:5882/api/user/123456可查看到api访问成功了。


