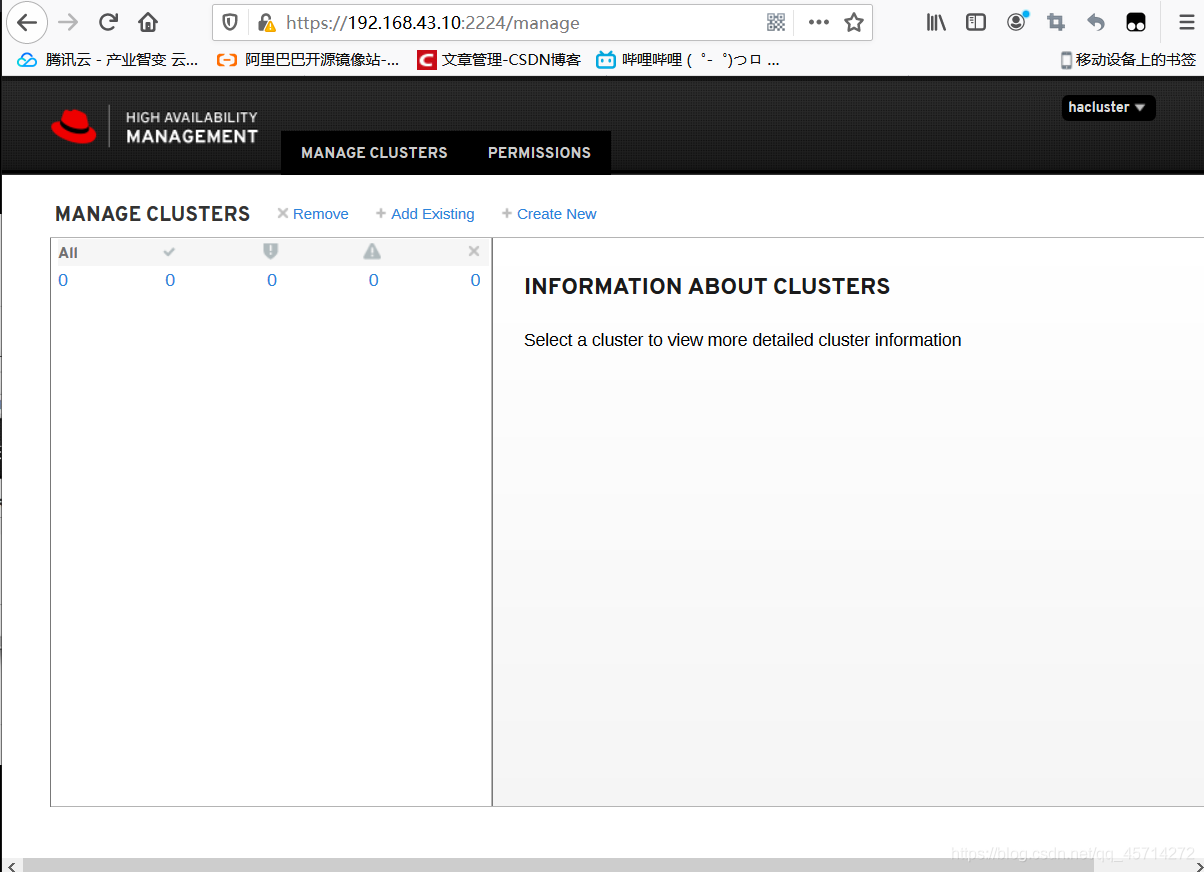
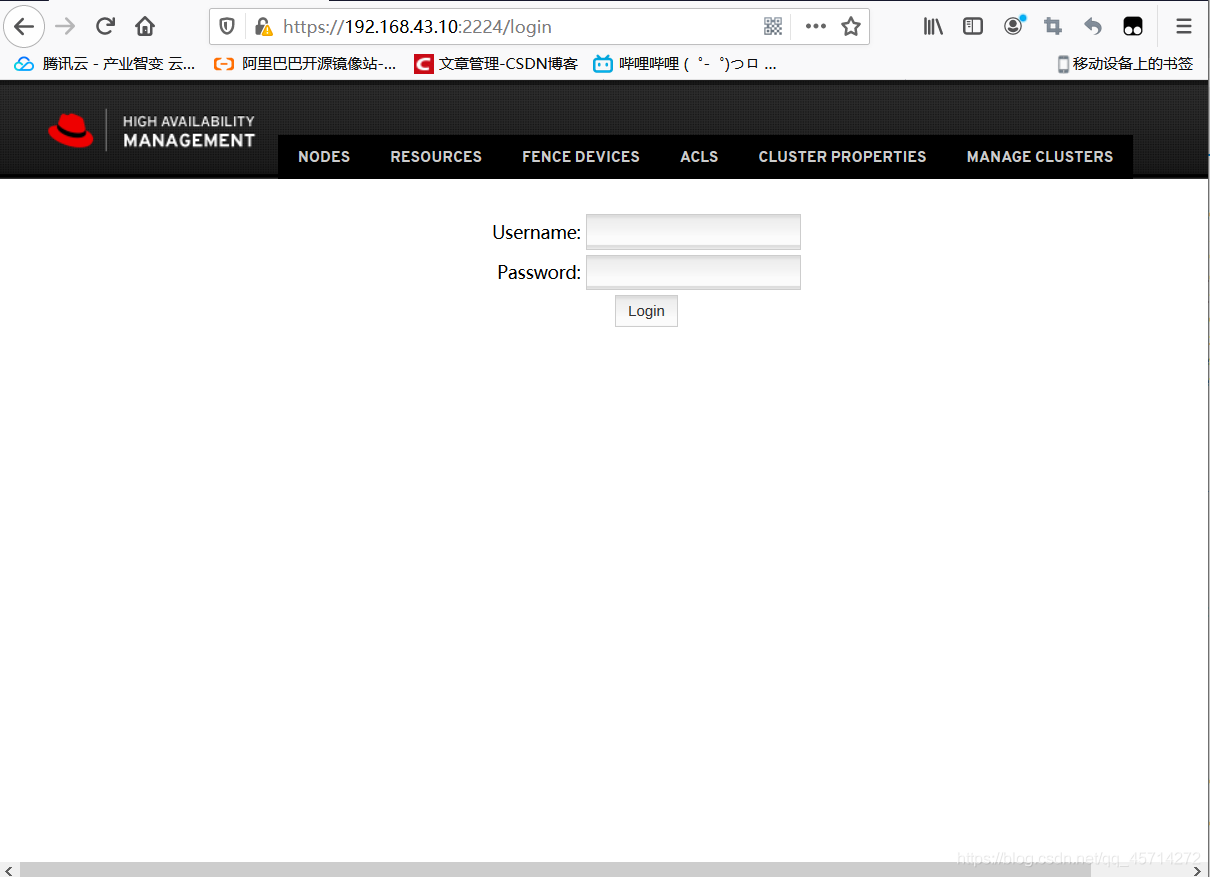
群集节点准备:
1.配置主机名及解析
2.配置时钟
3.配置iptables防火墙允许集群组件运行
4.配置pcs守护程序
5.配置hacluster账户密码
6.集群配置文件
1.安装pacemaker配置工具
[root@rs1 ~]# yum install -y pacemaker corosync pcs psmisc policycoreutils-python fence-agents-all
了解每一个包是干嘛的
[root@rs1 ~]# rpm -qi fence-agents-all
...
2.配置时钟和主机名解析
群集中各个节点的时钟要一致
两个虚拟机中时间同步:
[root@rs1 ~]# yum install -y ntp  #安装服务
[root@rs1 ~]# ntpdate time.windows.com  #同步时间(前提是虚拟机可以联网)
[root@rs1 ~]# crontab -e    #修改cron表,设置每30分钟更新矫正一次时间
*/30 * * * * /sbin/ntpdate time.windows.com &> /dev/null
[root@rs1 ~]# systemctl restart ntpd
#下面的可以省略,也可以直接ntpdate IP地址
[root@rs1 ~]# vim /etc/hosts
...
192.168.43.10 rs1
192.168.43.20 rs2

[root@rs2 ~]# yum install -y ntp
[root@rs2 ~]# vi /etc/hosts
...
192.168.43.10 rs1
192.168.43.20 rs2
[root@rs2 ~]# crontab -e
*/30 * * * * /sbin/ntpdate rs1
[root@rs2 ~]# ntpdate rs1
 7 May 11:22:15 ntpdate[4434]: adjust time server 192.168.43.10 offset 0.046371 sec

测试:
[root@rs1 ~]# ssh rs2 'date';date
root@rs2's password:
Thu May  7 11:26:54 EDT 2020
Thu May  7 11:26:54 EDT 2020
3.配置防火墙允许集群组件通过(rs1和rs2都做)
[root@rs1 ~]# systemctl start firewalld
[root@rs1 ~]# systemctl enable firewalld
Created symlink from /etc/systemd/system/dbus-org.fedoraproject.FirewallD1.service to /usr/lib/systemd/system/firewalld.service.
Created symlink from /etc/systemd/system/multi-user.target.wants/firewalld.service to /usr/lib/systemd/system/firewalld.service.
[root@rs1 ~]# firewall-cmd --permanent --add-service=high-availability
success
[root@rs1 ~]# firewall-cmd --reload
success
4.配置pcs守护程序
[root@rs1 ~]# systemctl start pcsd
[root@rs1 ~]# systemctl enable pcsd
Created symlink from /etc/systemd/system/multi-user.target.wants/pcsd.service to /usr/lib/systemd/system/pcsd.service.

[root@rs2 ~]# systemctl start pcsd
[root@rs2 ~]# systemctl enable pcsd
Created symlink from /etc/systemd/system/multi-user.target.wants/pcsd.service to /usr/lib/systemd/system/pcsd.service.
5.配置hacluster账户密码
安装软件包的时候会自动创建一个hacluster账户,它的密码是禁用的。这个用户用于群集间通信的身份验证
必须在每个节点上设置密码以启用此账户。
[root@rs1 ~]# echo "a" | passwd --stdin hacluster
Changing password for user hacluster.
passwd: all authentication tokens updated successfully.

[root@rs2 ~]# echo "a" | passwd --stdin hacluster
Changing password for user hacluster.
passwd: all authentication tokens updated successfully.
6.集群及Pacemaker配置文件
群集的创建
1认证组成集群的节点
2配置和同步集群节点
3在集群节点中启动集群服务
1认证组成集群的节点
在任意一个节点上验证所有的节点
使用前面设置的hacluster账户
注意iptables规则
语法:pcs cluster auth node1 node2 noden  -u username -p passwd
例:[root@rs1 ~]# pcs cluster auth rs1 rs2
Username: hacluster
Password:
rs1: Authorized
rs2: Authorized
2配置和同步集群节点
语法:pcs cluster setup [--start] [--local] --name cluster_name node1 node2 noden...

创建集群配置文件可以手动创建
[root@rs1 ~]# cd /etc/corosync/a
[root@rs1 corosync]# cat corosync.conf.example

也可以利用pcs setup 自动创建群集配置文件
[root@rs1 corosync]# pcs cluster setup --name cluster1 rs1 rs2
[root@rs1 corosync]# pwd
/etc/corosync
[root@rs1 corosync]# ls
corosync.conf          corosync.conf.example.udpu  uidgid.d
corosync.conf.example  corosync.xml.example
3在集群节点中启动集群服务
语法:pcs cluster start [--all] [node1] [node2] [....]

启动群集节点(也会同时启动pacemaker和corosync)
[root@rs1 corosync]# pcs cluster start --all
rs1: Starting Cluster (corosync)...
rs2: Starting Cluster (corosync)...
rs1: Starting Cluster (pacemaker)...
rs2: Starting Cluster (pacemaker)...
查看群集状态
[root@rs1 corosync]# pcs status
Cluster name: cluster1

WARNINGS:
No stonith devices and stonith-enabled is not false

Stack: corosync
Current DC: rs1 (version 1.1.20-5.el7-3c4c782f70) - partition with quorum
Last updated: Thu May  7 21:56:25 2020
Last change: Thu May  7 21:54:40 2020 by hacluster via crmd on rs1

2 nodes configured
0 resources configured

Online: [ rs1 rs2 ]

No resources


Daemon Status:
  corosync: active/disabled
  pacemaker: active/disabled
  pcsd: active/enabled
创建完群集之后,pcs会在每个节点上生成一个GUI的东西,通过ip地址可以访问gui页面进行管理(用户名是hacluster,地址采用https协议加密,端口号是2224)


也可用图形化界面来管理集群


