
后端Springboot图片/视频上传接口:
如果是上传到其它如阿里云、七牛云、又拍云等云存储平台,或者直接存到云服务器上的话,网上都有很多教程可以搜,直接拿来用就对了。
/**
* Github图片上传
*
* @param multipartFile
* @return
* @throws IOException
*/
@PostMapping("/github/upload")
public Object upload(@RequestParam(value = "file") MultipartFile multipartFile) throws IOException {
return Result.success(this.githubUploader.upload(multipartFile));
}
/**
* Github视频上传
*
* @param multipartFile
* @return
* @throws IOException
*/
@PostMapping("/github/video/upload")
public Object uploadVideo(@RequestParam(value = "file") MultipartFile multipartFile) throws IOException {
return Result.success(this.githubUploader.upload(multipartFile));
}
yml文件还要配置一下mutipart中max-file-size和max-request-size的值,一般后者要比前者大,因为是前端请求自带的一些数据再加上传的文件大小,这里我分别设置的是5MB和10MB。
前端Vue3:
先贴一下tinymce的原版和中文版开发文档:
安装依赖
vue3下载命令:
npm install @tinymce/tinymce-vue -S npm install tinymce -S 上面两条命令都要执行
汉化(安装语言包)
编辑器本身是英文的,所以还要下载本地化文件
下载这个:
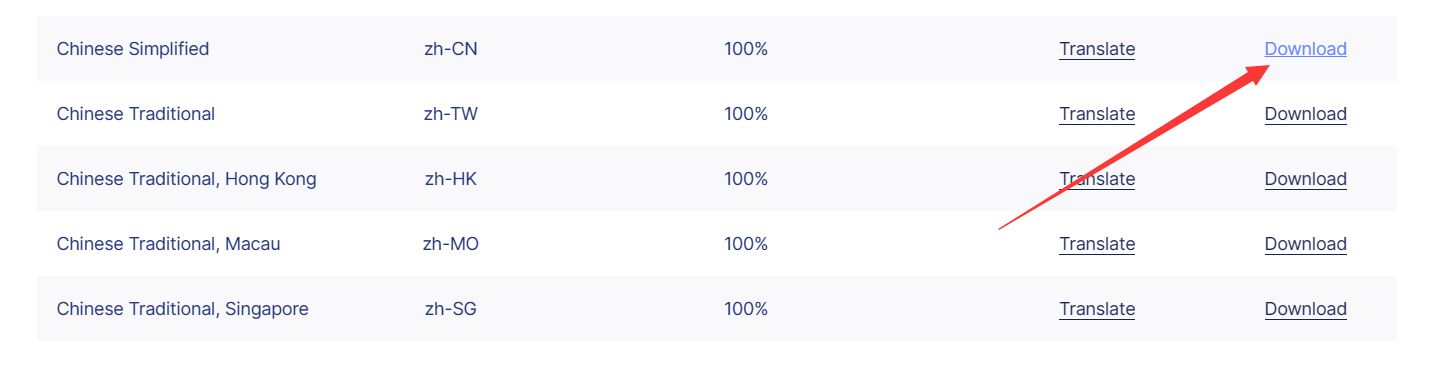
在public下创建“tinymce”目录
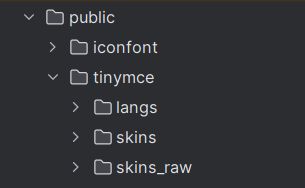
在node_modules找到"tinymce"依赖下的"skins",将其拷贝到public目录下的"tinymce"中, 同理将刚刚下载完成的"zh-CN"放到"public/langs"
创建自定义组件封装tinymce编辑器
在components下创建一个自定义组件,命名为“TEditor”(这里取什么名都可,这里是我的命名)
如果只需要去发布内容,打开编辑器的时候没有文字,直接上手编辑的话,把下面的直接CV到TEditor.vue中即可
 <template>
   <div style="height: 100%; overflow: hidden">
     <editor
         v-model="myValue"
         :init="init"
         :enabled="enabled"
         :id="tinymceId"
     ></editor>
   </div>
 </template>

 <script setup>
 import {computed, reactive, watch, ref, nextTick, onMounted} from "vue"; //全屏

 import tinymce from "tinymce/tinymce";
 // import "tinymce/skins/content/default/content.css";
 import Editor from "@tinymce/tinymce-vue";
 import "tinymce/icons/default/icons";
 import "tinymce/models/dom"; // 一定要引入
 import "tinymce/themes/silver"; // 界面UI主题
 import "tinymce/plugins/image";
 import "tinymce/plugins/table";
 import "tinymce/plugins/lists"; // 列表插件
 import "tinymce/plugins/wordcount"; // 文字计数
 import "tinymce/plugins/preview"; // 预览
 import "tinymce/plugins/emoticons"; // emoji表情
 import "tinymce/plugins/emoticons/js/emojis.js"; //必须引入这个文件才有表情图库
 import "tinymce/plugins/code"; // 编辑源码
 import "tinymce/plugins/link"; // 链接插件
 import "tinymce/plugins/advlist"; //高级列表
 import "tinymce/plugins/codesample"; //代码示例
 import "tinymce/plugins/autoresize"; // 自动调整编辑器大小
 import "tinymce/plugins/quickbars"; // 光标处快捷提示
 import "tinymce/plugins/nonbreaking"; //插入不间断空格
 import "tinymce/plugins/searchreplace"; //查找替换
 import "tinymce/plugins/autolink"; //自动链接
 import "tinymce/plugins/directionality"; //文字方向
 import "tinymce/plugins/visualblocks"; //显示元素范围
 import "tinymce/plugins/visualchars"; //显示不可见字符
 import "tinymce/plugins/charmap"; // 特殊符号
 import "tinymce/plugins/nonbreaking"; //插入不间断空格
 import "tinymce/plugins/insertdatetime"; //插入日期时间
 import "tinymce/plugins/importcss"; //引入自定义样式的css文件
 import "tinymce/plugins/accordion"; // 可折叠数据手风琴模式
 import "tinymce/plugins/anchor"; //锚点
 import "tinymce/plugins/fullscreen";


 const emits = defineEmits(["update:modelValue", "setHtml"]);
 //这里我选择将数据定义在props里面,方便在不同的页面也可以配置出不同的编辑器,当然也可以直接在组件中直接定义
 const props = defineProps({
   value: {
     type: String,
     default: () => {
       return "";
     },
   },
   baseUrl: {
     type: String,
     default: "",
   },
   enabled: {
     type: Boolean,
     default: true,
   },
   // 编辑器初始可编辑状态
   editable_root: {
     type: Boolean,
     default: true,
   },
   plugins: {
     type: [String, Array],
     default:
         "importcss autoresize searchreplace autolink directionality code visualblocks visualchars fullscreen image link codesample table charmap nonbreaking anchor insertdatetime advlist lists wordcount charmap quickbars emoticons accordion",
   },
   knwlgId: {
     type: String,
   },
   toolbar: {
     type: [String, Array, Boolean],
     default: "undo redo | accordion accordionremove | blocks fontfamily fontsize| bold italic underline strikethrough ltr rtl  | align numlist bullist | link image | table | lineheight outdent indent| forecolor backcolor removeformat | charmap emoticons | anchor codesample",
   },
   readonly: {
     type: Boolean,
     default: false,
   },
   minHeight: {
     type: Number,
     default: 630,
   },
 });
 const loading = ref(false);
 const tinymceId = ref(
     "vue-tinymce-" + +new Date() + ((Math.random() * 1000).toFixed(0) + "")
 );


 //定义一个对象 init初始化
 const init = reactive({
   selector: "#" + tinymceId.value, //富文本编辑器的id,
   language_url: "/tinymce/langs/zh_CN.js", // 语言包的路径,具体路径看自己的项目
   language: "zh_CN",
   skin_url: "/tinymce/skins/ui/oxide", // skin路径,具体路径看自己的项目
   editable_root: props.editable_root,
   height: 600,
   branding: false, // 是否禁用“Powered by TinyMCE”
   promotion: false, //去掉 upgrade
   // toolbar_sticky: true,
   // toolbar_sticky_offset: 100,
   menubar: "edit view insert format tools table",
   paste_data_images: true, //允许粘贴图像
   image_dimensions: false, //去除宽高属性
   plugins: props.plugins, //这里的数据是在props里面就定义好了的
   toolbar: props.toolbar, //这里的数据是在props里面就定义好了的
   // 取消图片资源路径转换
   convert_urls: false,
   // table边框位0是否展示网格线
   // visual: false,
   // 超链接默认打开方式
   link_default_target: "_blank",
   link_context_toolbar: true,
   // 默认快捷菜单
   quickbars_insert_toolbar: "image codesample table",
   // 选中图片的快捷提示
   quickbars_image_toolbar: "alignleft aligncenter alignright | rotateleft rotateright | imageoptions",
   editimage_toolbar: "rotateleft rotateright | flipv fliph | editimage imageoptions",
   // 文字样式
   font_family_formats:
       "Arial=arial,helvetica,sans-serif; 宋体=SimSun; 微软雅黑=Microsoft Yahei; Impact=impact,chicago;", //字体
   font_size_formats: "11px 12px 14px 16px 18px 24px 36px 48px 64px 72px", //文字大小
   image_caption: true,
   editimage_cors_hosts: ["picsum.photos"],
   noneditable_class: "mceNonEditable",
   toolbar_mode: "wrap", // 工具栏模式 floating / sliding / scrolling / wrap
   // 默认样式
   content_style:
       "body { font-family:Helvetica,Arial,sans-serif; font-size:16px }p {margin:3px; line-height:24px;}",
   image_advtab: true,
   importcss_append: true,
   paste_webkit_styles: "all",
   paste_merge_formats: true,
   nonbreaking_force_tab: false,
   paste_auto_cleanup_on_paste: false,
   file_picker_types: "file",
   // 选中文字的快捷提示
   quickbars_selection_toolbar:
       "bold italic | quicklink h2 h3 blockquote quickimage quicktable",
   // 编辑器高度自适应
   autoresize_bottom_margin: 20,
   // autoresize_overflow_padding: 16,
   min_height: props.minHeight,
   content_css: "/tinymce/skins/content/default/content.css", //以css文件方式自定义可编辑区域的css样式,css文件需自己创建并引入
   // setup: function (editor) {
   // },
   //图片上传  -实列 具体请根据官网补充-
   images_upload_handler: function (blobInfo, progress) {
     new Promise((resolve, reject) => {
       let file = blobInfo.blob();
       if (file.size / 1024 / 1024 > 200) {
         reject({
           message: "上传失败,图片大小请控制在 200M 以内",
           remove: true,
         });
       }
         const formData = new FormData();
         formData.append("file", file);
         console.log( formData)
         axios.post("/api/upload/upload", formData, {
           headers: {
             "Content-Type": "multipart/form-data",
           },
           onUploadProgress: (progressEvent) => {
             progress(
                 Math.round((progressEvent.loaded / progressEvent.total) * 100)
             );
           },
         }).then((res) => {
               resolve(res.data.url);
         })
         .catch()

     });
   },
 });

 // 外部传递进来的数据变化
 const myValue = computed({
   get() {
     return props.modelValue;
   },
   set(val) {
     emits("update:modelValue", val);
   },
 });

 //监听富文本中的数据变化
 watch(
     () => myValue.value,
     () => {
       emits(
           "setHtml",
           tinymce.activeEditor.getContent({format: "text"}),
           myValue.value
       );
     }
 );

 // 设置编辑器只读模式
 watch(
     () => props.readonly,
     (newValue, oldValue) => {
       nextTick(() => {
         tinymce.activeEditor.mode.set(newValue ? "readonly" : "design");
         let iframeDom = document.querySelector("iframe");
         iframeDom &&
         (iframeDom.contentWindow.document.body.style.margin = newValue
             ? 0
             : "16px");
       });
     },
     {immediate: true}
 );

 //初始化编辑器
 onMounted(() => {
   tinymce.init({});
 });

 // 设置值
 const handleSetContent = (content) => {
   tinymce.activeEditor.setContent(content);
 };

 // 获取值
 const handleGetContent = () => {
   return tinymce.activeEditor.getContent();
 };

 defineExpose({
   handleSetContent,
   handleGetContent,
 });
 </script>

 <style lang="scss" scoped>
 :deep(.tox-tinymce) {
   border: 1px solid #dcdfe6;
   border-radius: 4px;

   .tox-statusbar {
     display: none;
   }
 }
 </style>
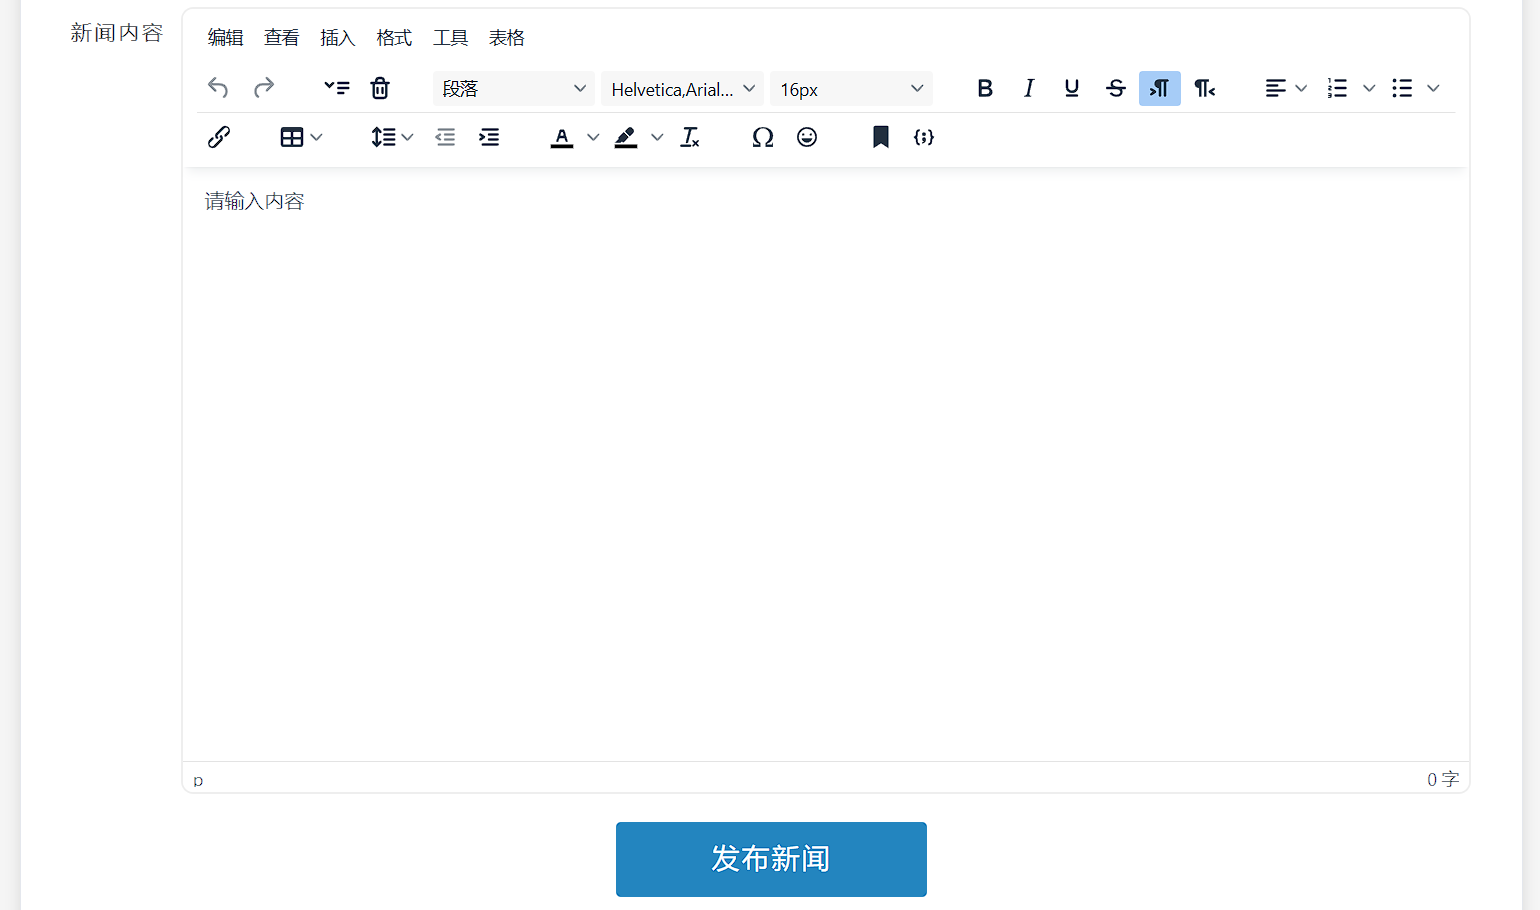
引用自定义组件:
 <template>
   <div class="tinymce-box">
     <TEditor ></TEditor>
   </div>
 </template>
 <style scoped>
 .tinymce-box {
   width: 100%;
 }
 </style>
 <script lang="ts" setup>
   import TEditor from "@/components/TEditor.vue";
 </script>
但是现在的我还没系统地去学vue,不知道如何去做父子间通讯。就是,假设我在父组件中绑定的v-model="htmlTxt",当赋值给htmlTxt.value时,富文本上无法接收回显我赋值的内容,即在需要编辑已发布的文章内容时,打开编辑器后文章内容没有回显。所以我在这里讲一下我个人比较笨的做法。
个人做法(不封装,直接塞)
就是把刚才那一大面的自定义组件里的编辑器配置代码直接塞到父组件里,然后就不存在父子通讯的问题了,
父组件template中
 <editor
     style="width: 98%" :validate-event="false"
     v-model="myValue"
     :init="init"
     :enabled="enabled"
     :id="tinymceId">
 </editor>
然后这是js部分的相关代码
// 新闻编辑
const editNews = (row) => {
editVisible.value = true // 点击编辑按钮时打开el-dialog对话框
formModel.value.modId = row.id // 依次获取表单中的数据
formModel.value.modNewsTitle = row.newsTitle
formModel.value.modNewsContent = row.newsContent
setTimeout(() => myValue.value = row.newsContent, 0) //模拟Ajax的方式去延时给编辑器上绑定的myValue参数赋值
}
// 确认修改新闻
const submitForm = async () => {
await tinymce.init({}) // 因为编辑器是被包在el-dialog里的,所以打开对话框再初始化加载
formModel.value.modNewsContent = myValue.value // 把编辑器上绑定获取到的数据赋值给表单对象
await form.value.validate() // 表单参数校验
const res = await newsModService({ // 请求修改新闻的后端接口
id: formModel.value.modId,
newsTitle: formModel.value.modNewsTitle,
newsContent: formModel.value.modNewsContent
})
if (res.data.code === 0) { // 后端返回状态码为0,即修改成功
tableLoading.value = true // 这是定义的一个表格加载时,是否显示加载动画的boolean参数
await listRenderPage() //这是向后端请求新闻列表的方法,修改完之后再请求一下,重载刷新页面的数据
tableLoading.value = false
form.value.resetFields() // 清空表单校验的数据
formModel.value.modNewsContent = '' // 这里是定义了一个formModel对象,包了三个参数
formModel.value.modId = ''
formModel.value.modNewsTitle = ''
myValue.value = '' // 修改完之后全部数据初始化
editVisible.value = false // 这是控制el-dialog对话框是否显示的一个boolean参数,这里改完就关闭
ElMessage.success('修改成功')
} else {
editVisible.value = false
ElMessage.error(res.data.message || '修改失败,请稍后重试')
}
}
这样就可以实现编辑时,数据能回显到编辑器上面了,效果如下:
https://jsd.onmicrosoft.cn/gh/Albert-PZY/blue-earth/typora/recording.gif
前端Vue3图片/文件上传:
因为开发文档我实在看不懂,不知道怎么调tinymce自带的图片和视频上传方法
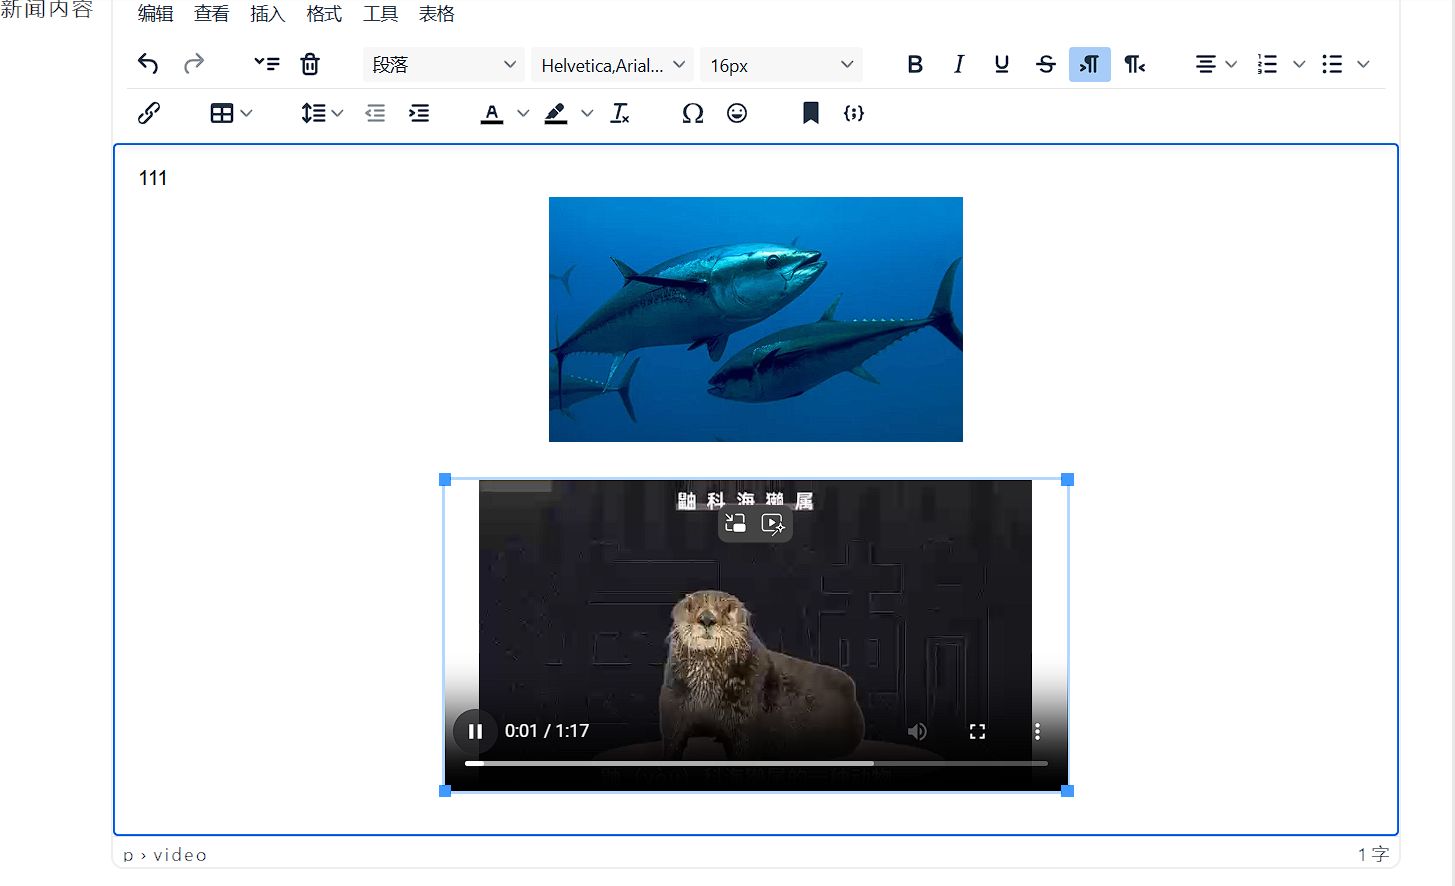
所以我还是用了笨方法,说一下我的思路,很简单,就是用两个el-upload,分别控制上传图片、上传视频的参数校验和请求后端上传接口的操作,当请求到后端返回的url后,再手写<img />和<video />标签,把url绑定到src上,把这个标签以String类型的格式追加到tinymce绑定的myValue参数上,就可以实现图片和视频上传并回显到tinymce上的操作了。
下面附上整个操作的基本代码
template中
 <el-form-item>
   <el-upload :action="'https://www.albert-go.top/api/file/github/upload'"
              :headers="{ userToken: user.token}"
              :show-file-list="false"
              accept=".png, .jpg, .gif"
              :before-upload="beforeUploadImg"
              :on-success="handleImgUploadSuccess"
              style="margin: 0 auto 0 auto">
     <el-button type="primary" class="btnDialog" color="rgb(35,133,191)">图片上传</el-button>
     <template #tip>
       <div class="el-upload__tip" style="text-align: center">
         图片大小限制在1MB以内
       </div>
     </template>
   </el-upload>
   <el-upload :action="'https://www.albert-go.top/api/file/github/video/upload'"
              :headers="{ userToken: user.token}"
              :show-file-list="false"
              accept=".mp4"
              :before-upload="beforeUploadVideo"
              :on-success="handleVideoUploadSuccess"
              style="margin: 0 auto 0 auto">
     <el-button type="primary" class="btnDialog" color="rgb(35,133,191)">视频上传</el-button>
     <template #tip>
       <div class="el-upload__tip" style="text-align: center">
         视频大小限制在2MB以内
       </div>
     </template>
   </el-upload>
 </el-form-item>
js中
// 上传图片前的格式校验
const beforeUploadImg = (file) => {
    // 校验图片格式
  const fileSuffix = file.name.substring(file.name.lastIndexOf(".") + 1); // 获取文件后缀名

  const whiteList = ["png", "jpg", "gif"]; // 自定义筛选的图片格式类型

  if (whiteList.indexOf(fileSuffix) === -1) {
    alert('上传图片仅支持 png、jpg、gif 格式');
    return false;
  }

    // 校验图片文件大小
  const isLt1M = file.size / 1024 / 1024 < 1;

  if (!isLt1M) {
    alert('上传文件大小不能超过 1MB');
    return false;
  }
}

// 图片上传成功后,记录后端返回的图片URL地址
const handleImgUploadSuccess = async (response, file, fileList) => {
  // 确保response.data是字符串类型
  const imageUrl = await response.data.toString();
  if (response.code === 0) {
    ElMessage.success("图片上传成功")
    // 使用Vue的v-bind指令来绑定图片的src属性
    imgUpload.value = `<img src="${imageUrl}" alt="" style="display: block; margin-left: auto; margin-right: auto; width: 331px;" />`;
    setTimeout(() => myValue.value += imgUpload.value)
  } else {
    ElMessage.error(response.message || "上传失败,请稍后重试")
  }
}

// 上传视频前的格式校验
const beforeUploadVideo = (file) => {
  const fileSuffix = file.name.substring(file.name.lastIndexOf(".") + 1);

  const whiteList = ["mp4"];

  if (whiteList.indexOf(fileSuffix) === -1) {
    alert('上传视频仅支持 mp4 格式');
    return false;
  }

  const isLt2M = file.size / 1024 / 1024 < 2;

  if (!isLt2M) {
    alert('上传文件大小不能超过 2MB');
    return false;
  }

  return confirm('视频上传将会比较耗时,需要等待30秒左右,您确定要上传吗?');
}

// 视频上传成功后,记录后端返回的视频URL地址
const handleVideoUploadSuccess = async (response, file, fileList) => {
  // 确保response.data是字符串类型
  const videoUrl = await response.data.toString();
  if (response.code === 0) {
    ElMessage.success("图片上传成功")
    // 使用Vue的v-bind指令来绑定图片的src属性
    videoUpload.value = `<video style="width: 498px" poster="" controls="controls" width="498" height="249"> <source src="${videoUrl}" type="video/mp4"></video>`;
    setTimeout(() => myValue.value += videoUpload.value)
  } else {
    ElMessage.error(response.message || "上传失败,请稍后重试")
  }
}
效果展示:
参考资料: