本列演示多环境部署,要启用2个虚拟机
192.168.2.104 dev
192.168.2.107 pro
192.168.2.104 dev
1、下载,需要3个包,官方已经更新到 1.61 版本
https://github.com/ctripcorp/apollo/release
cd /usr/local/src

# apollo-adminservice
wget https://github.com/ctripcorp/apollo/releases/download/v1.6.1/apollo-adminservice-1.6.1-github.zip

# apollo-configservice
wget https://github.com/ctripcorp/apollo/releases/download/v1.6.1/apollo-configservice-1.6.1-github.zip

# apollo-portal
wget https://github.com/ctripcorp/apollo/releases/download/v1.6.1/apollo-portal-1.6.1-github.zip
2、解压到相关目录
mkdir /usr/local/apollo

unzip apollo-adminservice-1.6.1-github.zip -d /usr/local/apollo/apollo-adminservice

unzip apollo-configservice-1.6.1-github.zip -d /usr/local/apollo/apollo-configservice

unzip apollo-portal-1.6.1-github.zip -d /usr/local/apollo/apollo-portal
3、创建数据库
https://github.com/nobodyiam/apollo-build-scripts/tree/master/sql
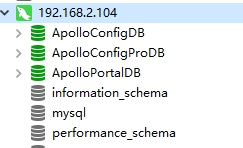
需要创建 2个数据库 ApolloConfigDB,ApolloPortalDB,并导入上面的SQL
mysql> show databases;
+--------------------+
| Database           |
+--------------------+
| information_schema |
| ApolloConfigDB     |
| ApolloPortalDB     |
| mysql              |
| performance_schema |
| sys                |
+--------------------+
4、修改 3个 服务的配置文件
cd /usr/local/apollo/

# apollo-adminservice
vim apollo-adminservice/config/application-github.properties


# DataSource
spring.datasource.url = jdbc:mysql://192.168.2.104:3306/ApolloConfigDB?characterEncoding=utf8
spring.datasource.username = root
spring.datasource.password = Abc@123456


# apollo-configservice
vim apollo-configservice/config/application-github.properties

# DataSource
spring.datasource.url = jdbc:mysql://192.168.2.104:3306/ApolloConfigDB?characterEncoding=utf8
spring.datasource.username = root
spring.datasource.password = Abc@123456

# apollo-portal
vim apollo-portal/config/application-github.properties


# DataSource
spring.datasource.url = jdbc:mysql://192.168.2.104:3306/ApolloPortalDB?characterEncoding=utf8
spring.datasource.username = root
spring.datasource.password = Abc@123456
5、修改 apollo-configservice 服务地址
分别是不同环境下的服务地址,这里只配置了(开发-dev)环境下的地址
vim apollo-portal/config/apollo-env.properties


dev.meta=http://192.168.2.104:8080

# 这个环境下面会配置
pro.meta=http://192.168.2.107:8080
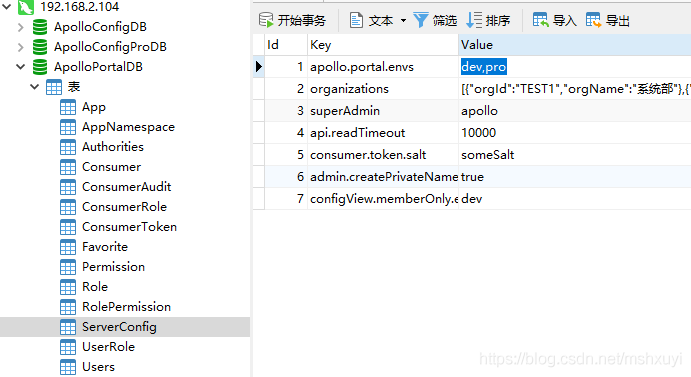
6、修改数据库地址
ApolloPortalDB 库 ServerConfig 表 apollo.portal.envs 中的值 Value 改成 dev,pro
7、创建启动脚本
vim start.sh

#!/bin/bash
/usr/local/apollo/apollo-configservice/scripts/startup.sh
/usr/local/apollo/apollo-adminservice/scripts/startup.sh
/usr/local/apollo/apollo-portal/scripts/startup.sh

vim shutdown.sh

#!/bin/bash
/usr/local/apollo/apollo-adminservice/scripts/shutdown.sh
/usr/local/apollo/apollo-configservice/scripts/shutdown.sh
/usr/local/apollo/apollo-portal/scripts/shutdown.sh
8、启动成功
./start.sh

Started [9603]
Waiting for server startup.........
Fri May 29 04:48:05 CST 2020 Server started in 45 seconds!
Fri May 29 04:48:06 CST 2020 ==== Starting ====
Started [9855]
Waiting for server startup.....
pid - 9855 just quit unexpectedly, please check logs under /opt/logs/100003172 and /tmp for more information!
Fri May 29 04:48:31 CST 2020 ==== Starting ====
Started [10002]
Waiting for server startup......
Fri May 29 04:49:02 CST 2020 Server started in 30 seconds!
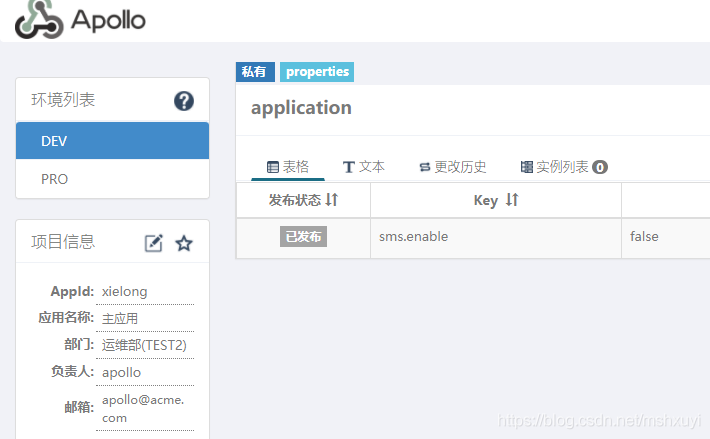
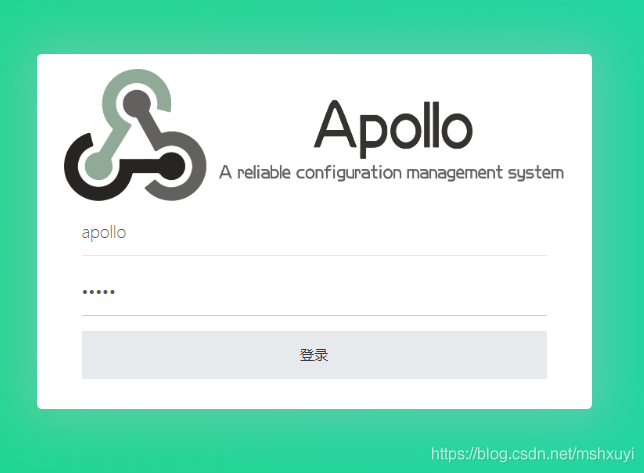
9、访问
http://192.168.2.104:8070/ 账号:apollo 密码:admin
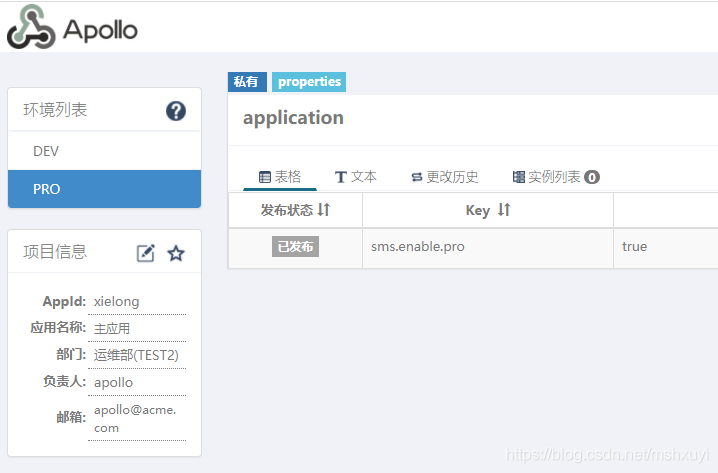
192.168.2.107 pro
1、下载,需要2个包,pro环境只需要部署 adminservcie,configservice
cd /usr/local/src

# apollo-adminservice
wget https://github.com/ctripcorp/apollo/releases/download/v1.6.1/apollo-adminservice-1.6.1-github.zip

# apollo-configservice
wget https://github.com/ctripcorp/apollo/releases/download/v1.6.1/apollo-configservice-1.6.1-github.zip
2、解压到相关目录
cd /usr/local/src

# apollo-adminservice
wget https://github.com/ctripcorp/apollo/releases/download/v1.6.1/apollo-adminservice-1.6.1-github.zip

# apollo-configservice
wget https://github.com/ctripcorp/apollo/releases/download/v1.6.1/apollo-configservice-1.6.1-github.zip
3、创建数据库,把上面的ApolloConfigDB复制一个改成 ApolloConfigProDB
4、修改pro环境配置文件
cd /usr/local/apollo/

# apollo-adminservice
vim apollo-adminservice/config/application-github.properties

# DataSource
spring.datasource.url = jdbc:mysql://192.168.2.104:3306/ApolloConfigProDB?characterEncoding=utf8
spring.datasource.username = root
spring.datasource.password = Abc@123456


---------------------------------------------------------------------

# apollo-configservice
vim apollo-configservice/config/application-github.properties

# DataSource
spring.datasource.url = jdbc:mysql://192.168.2.104:3306/ApolloConfigProDB?characterEncoding=utf8
spring.datasource.username = root
spring.datasource.password = Abc@123456
5、启动脚本,并启动
vim start.sh

#!/bin/bash
/usr/local/apollo/apollo-configservice/scripts/startup.sh
/usr/local/apollo/apollo-adminservice/scripts/startup.sh
6、重新启动 192.168.2.104 启动脚本
查看