推荐步骤:
网站服务器 LVS 服务器存储和客户端配置 IP 地址
在 Centos04 配置 NFS 共享存储两台 web 服务器连接到共享存储服务器
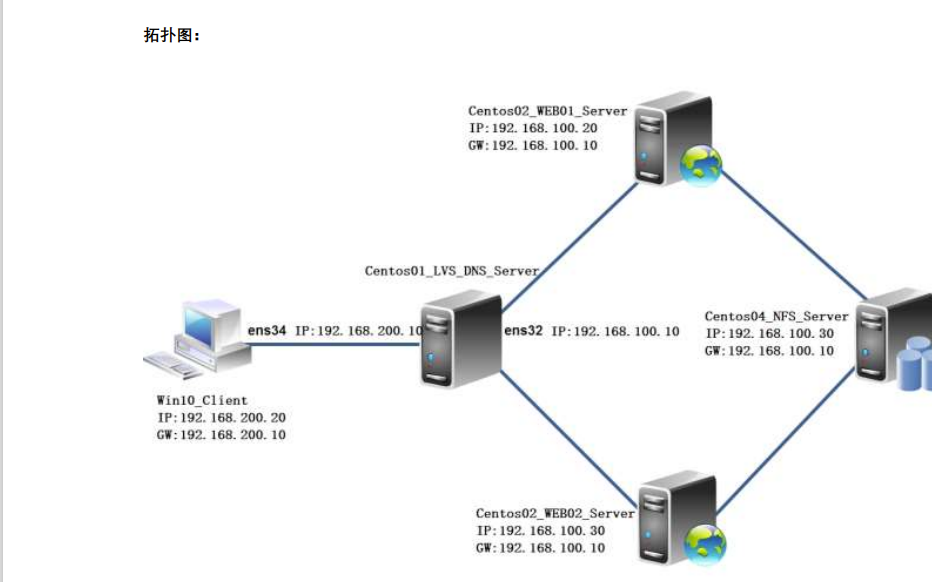
在 Centos01 配置 LVS 的 NAT 模式指定 LVS 服务器的 IP 地址为 192.168.200.10,将两台 web 服务器添加到负载均衡器服务器池中,在 Centos01 搭建 DNS客户端使用www.bdqn.com 访问 LVS
实验步骤:
一、网站服务器 LVS 服务器存储和客户端配置 IP 地址
1、Cenos01 的 LVS 服务器配置 IP 地址开启路由功能 1)Cenos01 生成外网 IP 地址
1)Cenos01 生成外网 IP 地址
[root@centos01 ~]# cd /etc/sysconfig/network-scripts/
[root@centos01 network-scripts]# cp ifcfg-ens32 ifcfg-ens34
[root@centos01 network-scripts]# vim ifcfg-ens34
TYPE=Ethernet
BOOTPROTO=static
NAME=ens34
DEVICE=ens34
ONBOOT=yes
IPADDR=192.168.200.10
NETMASK=255.255.255.0
DNS1=192.168.200.10
2)配置内网网卡 IP 地址
[root@centos01 network-scripts]# vim ifcfg-ens32
TYPE=Ethernet
BOOTPROTO=static
NAME=ens32
DEVICE=ens32
ONBOOT=yes
IPADDR=192.168.100.10
NETMASK=255.255.255.0
3)重启网网卡服务
[root@centos01 ~]# systemctl restart network
4)开启路由功能
[root@centos01 ~]# vim /etc/sysctl.conf
net.ipv4.ip_forward = 1
[root@centos01 ~]# sysctl -p
net.ipv4.ip_forward = 1
2、配置第一台 apache 网站服务器配置 IP 地址和服务
1)配置 IP 地址设置网关
[root@centos02 ~]# vim /etc/sysconfig/network-scripts/ifcfg-ens32
TYPE=Ethernet
BOOTPROTO=static
NAME=ens32
DEVICE=ens32
ONBOOT=yes
IPADDR=192.168.100.20
NETMASK=255.255.255.0
GATEWAY=192.168.100.10
[root@centos02 ~]# systemctl restart network
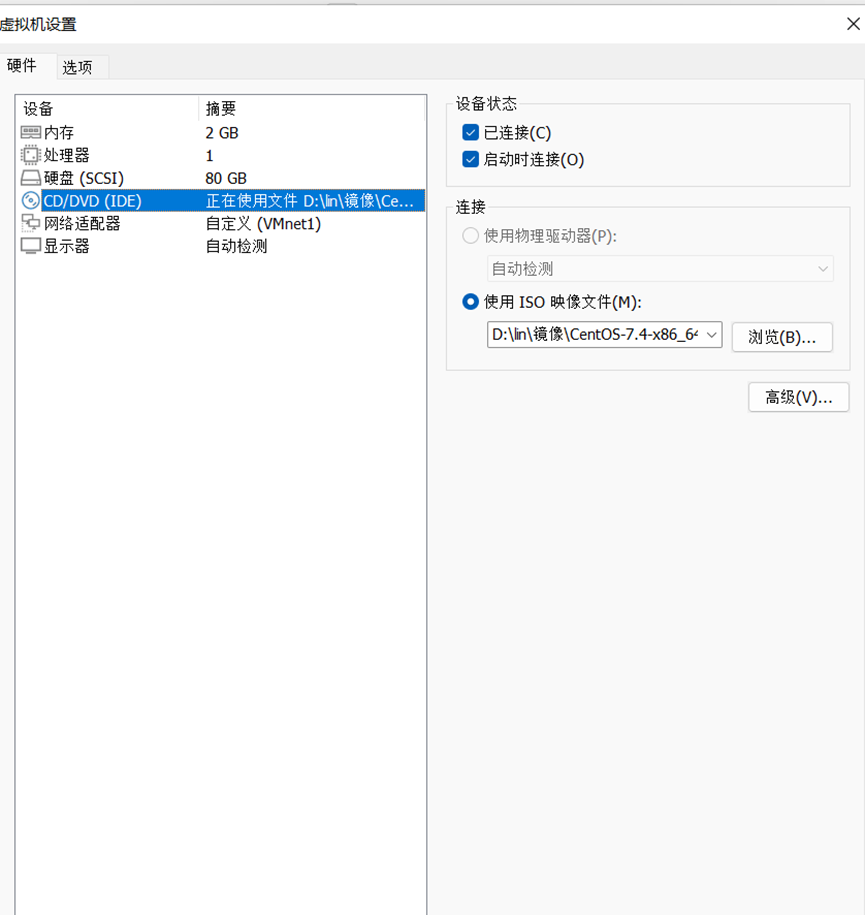
2)挂载系统光盘
3)挂载系统盘/mnt 目录删除系统源
[root@centos02 ~]# rm -rf /etc/yum.repos.d/CentOS-*
[root@centos02 ~]# mount /dev/cdrom /mnt/
mount: /dev/sr0 写保护,将以只读方式挂载
4)安装 apache 服务
[root@centos02 ~]# yum -y install http
5)设置服务开机自动启动启动服务
[root@centos02 ~]# systemctl enable httpd
[root@centos02 ~]# systemctl start httpd
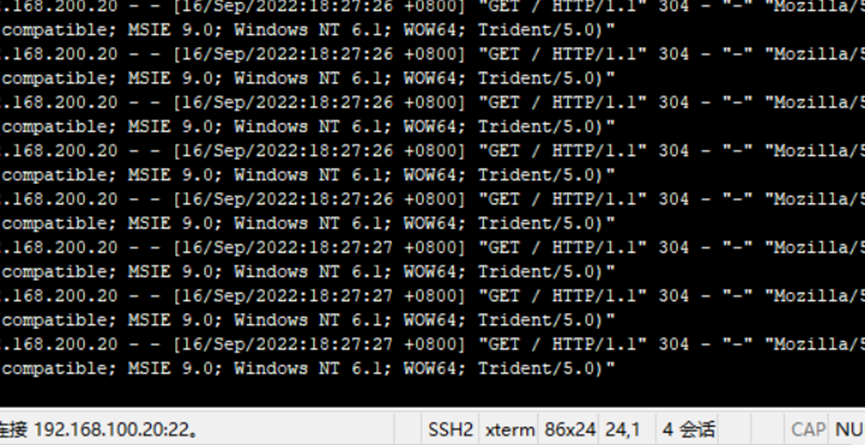
6)监听服务运行状态

3、配置第二台 Apche 网站服务器 IP 地址和服务
1)配置 IP 地址设置网关
[root@centos03 ~]# vim /etc/sysconfig/network-scripts/ifcfg-ens32
TYPE=Ethernet
BOOTPROTO=static
NAME=ens32
DEVICE=ens32
ONBOOT=yes
IPADDR=192.168.100.30
NETMASK=255.255.255.0
GATEWAY=192.168.100.10
[root@centos02 ~]# systemctl restart network
2)挂载系统光盘
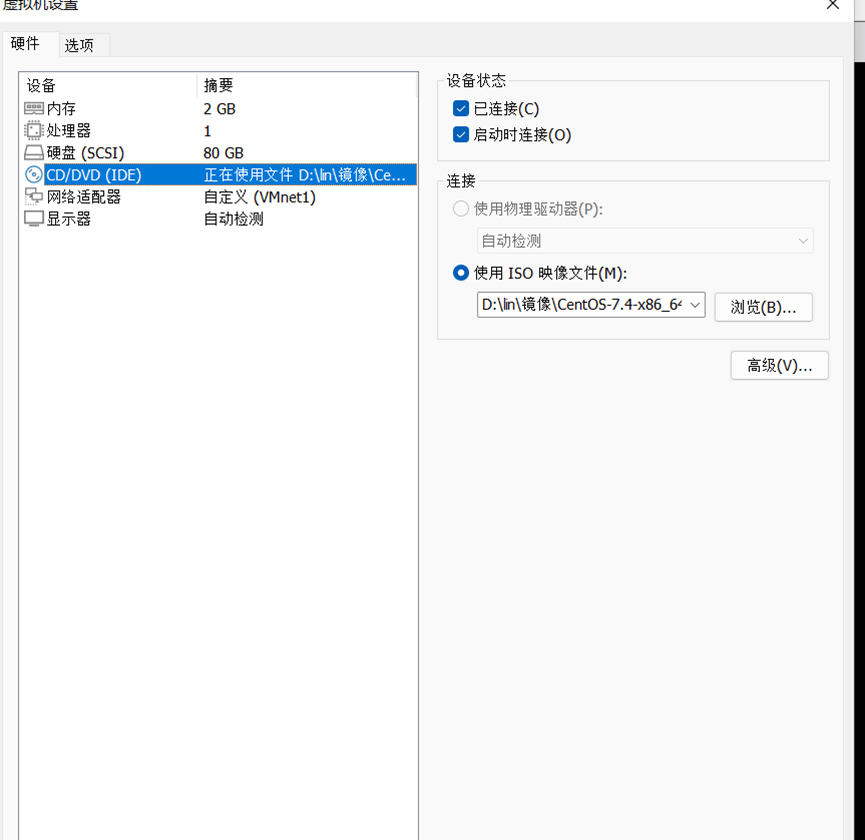
3)挂载系统盘/mnt 目录删除系统源
[root@centos03 ~]# rm -rf /etc/yum.repos.d/CentOS-*
[root@centos03 ~]# mount /dev/cdrom /mnt/
mount: /dev/sr0 写保护,将以只读方式挂载
4)安装 apache 服务
[root@centos03 ~]# yum -y install http
5)设置服务开机自动启动启动服务
[root@centos03 ~]# systemctl enable httpd
[root@centos03 ~]# systemctl start httpd
6)监听服务运行状态

4、配置共享存储服务器 IP 地址和安装 NFS 服务
1)配置 IP 地址设置网关
[root@centos04 ~]# vim /etc/sysconfig/network-scripts/ifcfg-ens32
TYPE=Ethernet
BOOTPROTO=static
NAME=ens32
DEVICE=ens32
ONBOOT=yes
IPADDR=192.168.100.40
NETMASK=255.255.255.0
GATEWAY=192.168.100.10
[root@centos04 ~]# systemctl restart network
2)挂载系统光盘
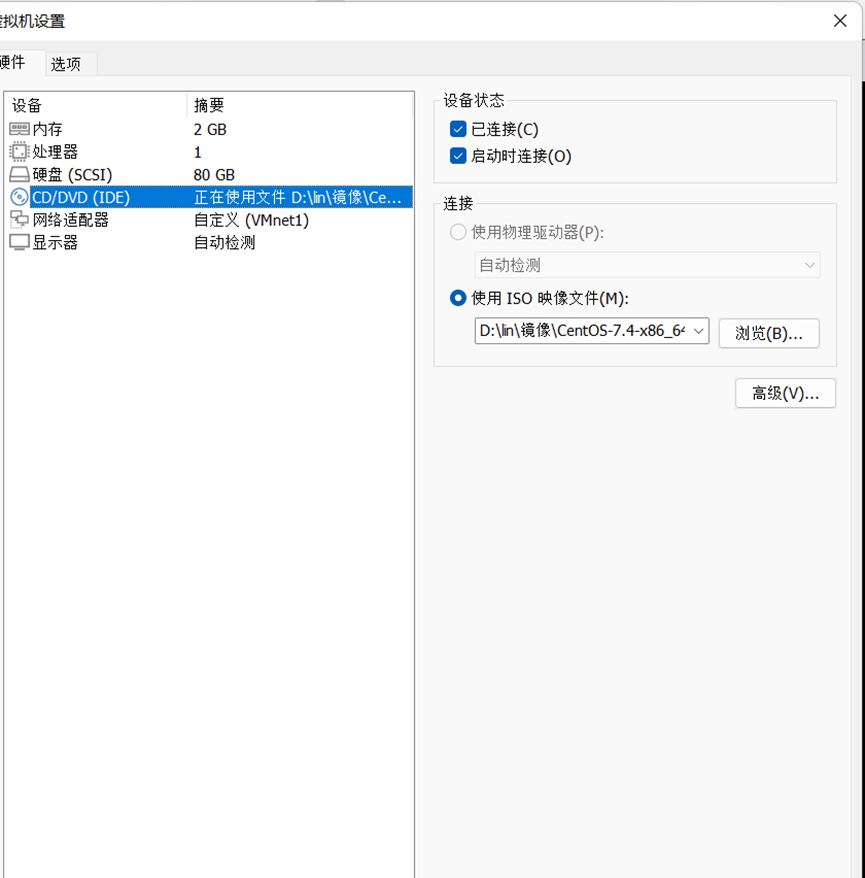
3)挂载系统盘/mnt 目录删除系统源
[root@centos04 ~]# rm -rf /etc/yum.repos.d/CentOS-*
[root@centos04 ~]# mount /dev/cdrom /mnt/
mount: /dev/sr0 写保护,将以只读方式挂载
4)安装 nfs 服务
[root@centos04 ~]# yum -y install nfs-utils rpcbind
5、客户端配置 IP 地址
1)配置 IP 地址

2、配置 NFS 服务器运行两台网站服务器读写共享存储数据
1)修改 NFS 主配置文件
[root@centos04 ~]# vim /etc/exports
/www 192.168.100.20(rw) 192.168.100.30(rw
2)重新启动服务器
[root@centos04 ~]# systemctl restart nfs
[root@centos04 ~]# systemctl restart rpcbind
3)设置服务开机自动启动
[root@centos04 ~]# systemctl enable nfs
[root@centos04 ~]# systemctl enable rpcbind
3、设置第一台 apache 网站服务器连接共享存储
1)设置开机自动挂载共享存储
[root@centos02 ~]# vim /etc/fstab
192.168.100.40:www /var/www/html/ nfs defaults 0 0
2)重启动计算机
[root@centos02 ~]# reboot
3)查看挂载的存储
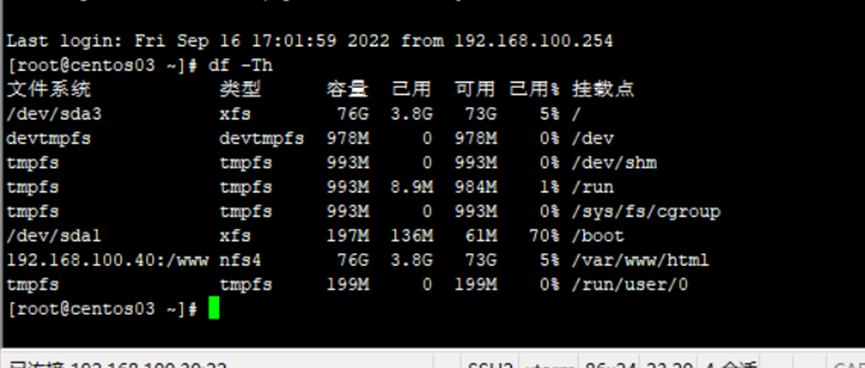
三、在 Centos01 配置 LVS 的 NAT 模式指定 LVS 服务器的 IP地址为 192.168.200.10,将两台 web 服务器添加到负载均衡器 服 务 器 池 中 , 在 Centos01 搭 建 DNS 客户端使用www.bdqn.com访问 LVS
1、安装 ipvsadmin
1)切换到系统光盘

2)挂载系统光盘到/mnt 目录
[root@centos01 ~]# rm -rf /etc/yum.repos.d/CentOS-*
[root@centos01 ~]# mount /dev/cdrom /mnt/
mount: /dev/sr0 写保护,将以只读方式挂载
3)安装 ipvsadm 服务设置开机自动启动
[root@centos01 ~]# yum -y install ipvsadm
[root@centos01 ~]# systemctl enable ipvsadm
2、配置 ipvsadmin 负载均衡服务器
1)清空 ipvsadm 规则
[root@centos01 ~]# ipvsadm -C
2)配置负载均衡器 IP 地址将服务器添加到到负载均衡器服务器池
[root@centos01 ~]# ipvsadm -A -t 192.168.200.10:80 -s rr
[root@centos01 ~]# ipvsadm -a -t 192.168.200.10:80 -r
192.168.100.20:80 -m -w 1
[root@centos01 ~]# ipvsadm -a -t 192.168.200.10:80 -r
192.168.100.30:80 -m -w 1
3)查看配置的 ipvsadm 服务
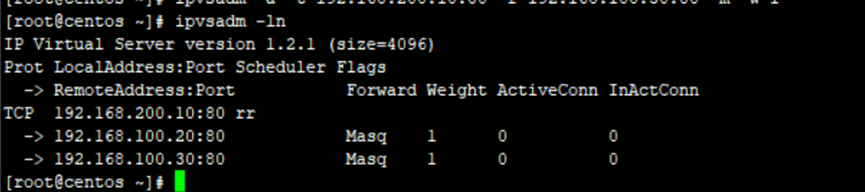
3、安装配置 DNS 服务器
1)安装 DNS 服务器
[root@centos01 ~]# yum -y install bind bind-chroot bind-utils
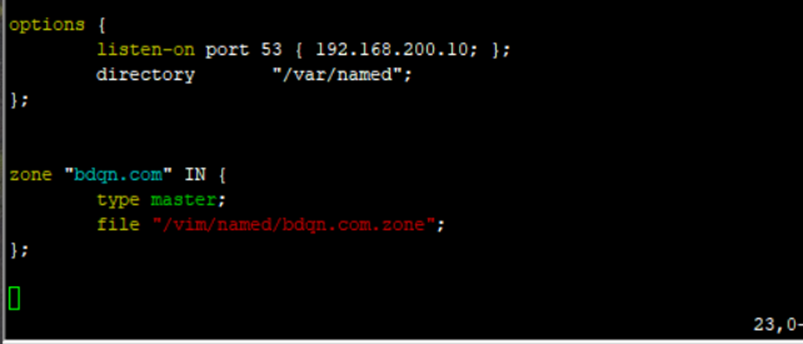
2)配置 DNS 主配置文件
3)配置 DNS 区域数据文件
[root@centos01 ~]# vim /var/named/bdqn.com.zone
$TTL         86400
@            SOA        bdqn.com.        root.bdqn.com. (
               2022090510
               1H
               15M
               1W
               1D
)
@             NS         centos01.bdqn.com.
centos01 A            192.168.200.10
www       A            192.168.200.10
[root@centos01 ~]# named-checkzone bdqn.com
/var/named/bdqn.com.zone
zone bdqn.com/IN: loaded serial 2022090510
OK
4)启动服务设置开机自动启动测试 DNS
[root@centos01 ~]# systemctl enable named
[root@centos01 ~]# systemctl start named
[root@centos01 ~]# nslookup www.bdqn.com
Server: 192.168.200.10
Address: 192.168.200.10#53
Name: www.bdqn.com
Address: 192.168.200.10
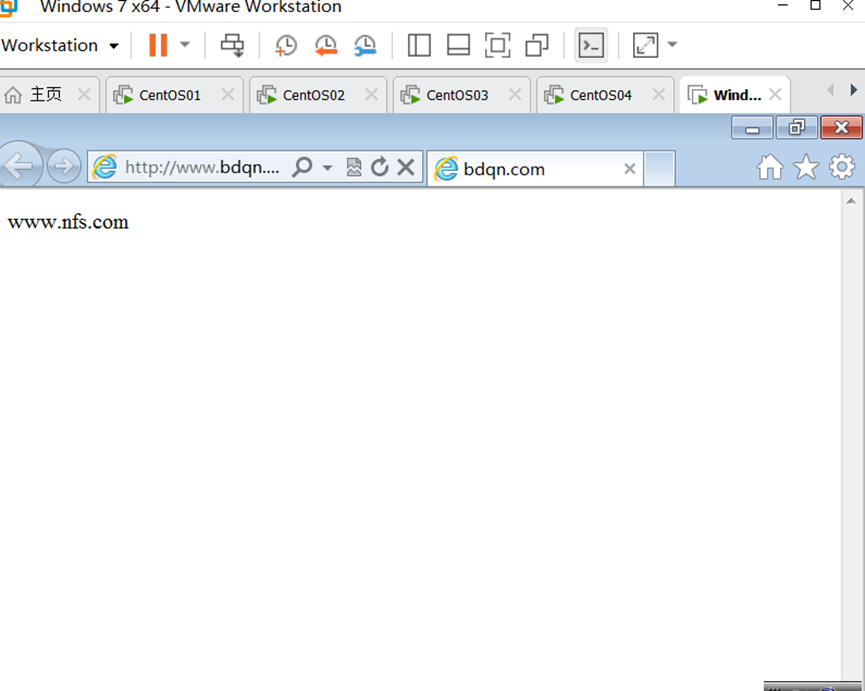
4、配置客户端访问 LVS 验证
1)客户端访问