6、Haproxy高级功能
6.3、基于socat管理haproxy
6.3.1、安装socat
6.3.2、修改配置文件
vim /etc/haproxy/haproxy.cfg
global
    #turn on stats unix socket
    stats socket /var/lib/haproxy/stats level admin

systemctl restart haproxy
6.3.3、实现主机动态下上线
配置
frontend proxy.qingchen.com
bind *:80-88
mode http
use_backend webcluster
#round robin balancing between the various backends
backend webcluster
balance roundrobin
#回传数据时添加Set-Cookie,Key为SERVERID,Value为节点定义cookie值
#cookie SERVERID insert nocache
#为每个服务器定义一个cookie名称标识
server web01 172.16.1.7:8888 check port 8888 inter 3s rise 2 fall 3 maxconn 2000 maxqueue 1000 weight 1 cookie web1
server web02 172.16.1.8:8888 check port 8888 inter 3s rise 2 fall 3 maxconn 2000 maxqueue 1000 weight 1 cookie web2
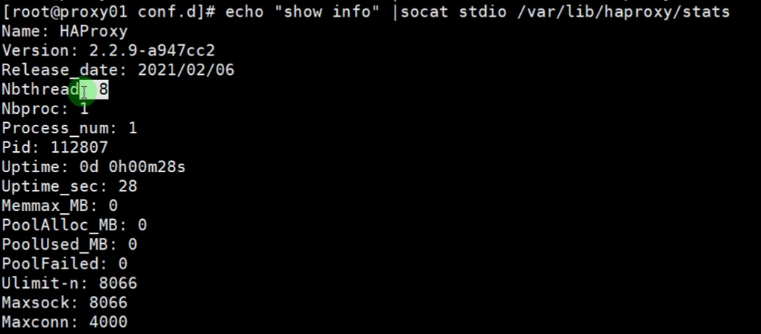
#获取详情
echo "show info" | socat stdio /var/lib/haproxy/stats
#动态下线主机
echo "disable server webservers/web1" | socat stdio /var/lib/haproxy/stats
#动态上线主机
echo "enable server webservers/web1" | socat stdio /var/lib/haproxy/stats
6.3.4、脚本实现动态上下线
执行前做相互免密
免密,将10.0.0.9主机与所有的节点进行免密登录;
ssh-copy-id -i ~/.ssh/id_rsa.pub root@172.16.1.5
ssh-copy-id -i ~/.ssh/id_rsa.pub root@172.16.1.6
ssh-copy-id -i ~/.ssh/id_rsa.pub root@172.16.1.7
ssh-copy-id -i ~/.ssh/id_rsa.pub root@172.16.1.8

#!/bin/bash
#集群节点
web_cluster="172.16.1.6 172.16.1.7 172.16.1.8"
#lb节点的IP
lb_server="172.16.1.5"
#集群资源池名称
cluster="webservers"
#节点的代码路径
webdir=/proxy
for host in ${web_cluster}
do
  #1、登录负载均衡
  ssh root@${lb_server} "echo 'disable server ${cluster}/${host}' | socat stdio /var/lib/haproxy/stats"
  #2、更新节点代码
  scp ./index.html.${host} root@${host}:${webdir}/index.html
  sleep 2
  #3、登录负载均衡,动态加入节点
  ssh root@${lb_server} "echo 'enable server ${cluster}/${host}' | socat stdio /var/lib/haproxy/stats"
  #4、等待几秒钟
  sleep 5
done

